Start With the Race, Not the Belt
Before you choose a waist belt, work backwards from the marathon itself. Think about the aid stations, your expected pacing, the weather on race day and whether you are more likely to sip often or take larger drinks less often. A runner lining up in Cape Town in cooler conditions may need a different carry plan from someone racing in Durban where heat and humidity can make every stop feel urgent.
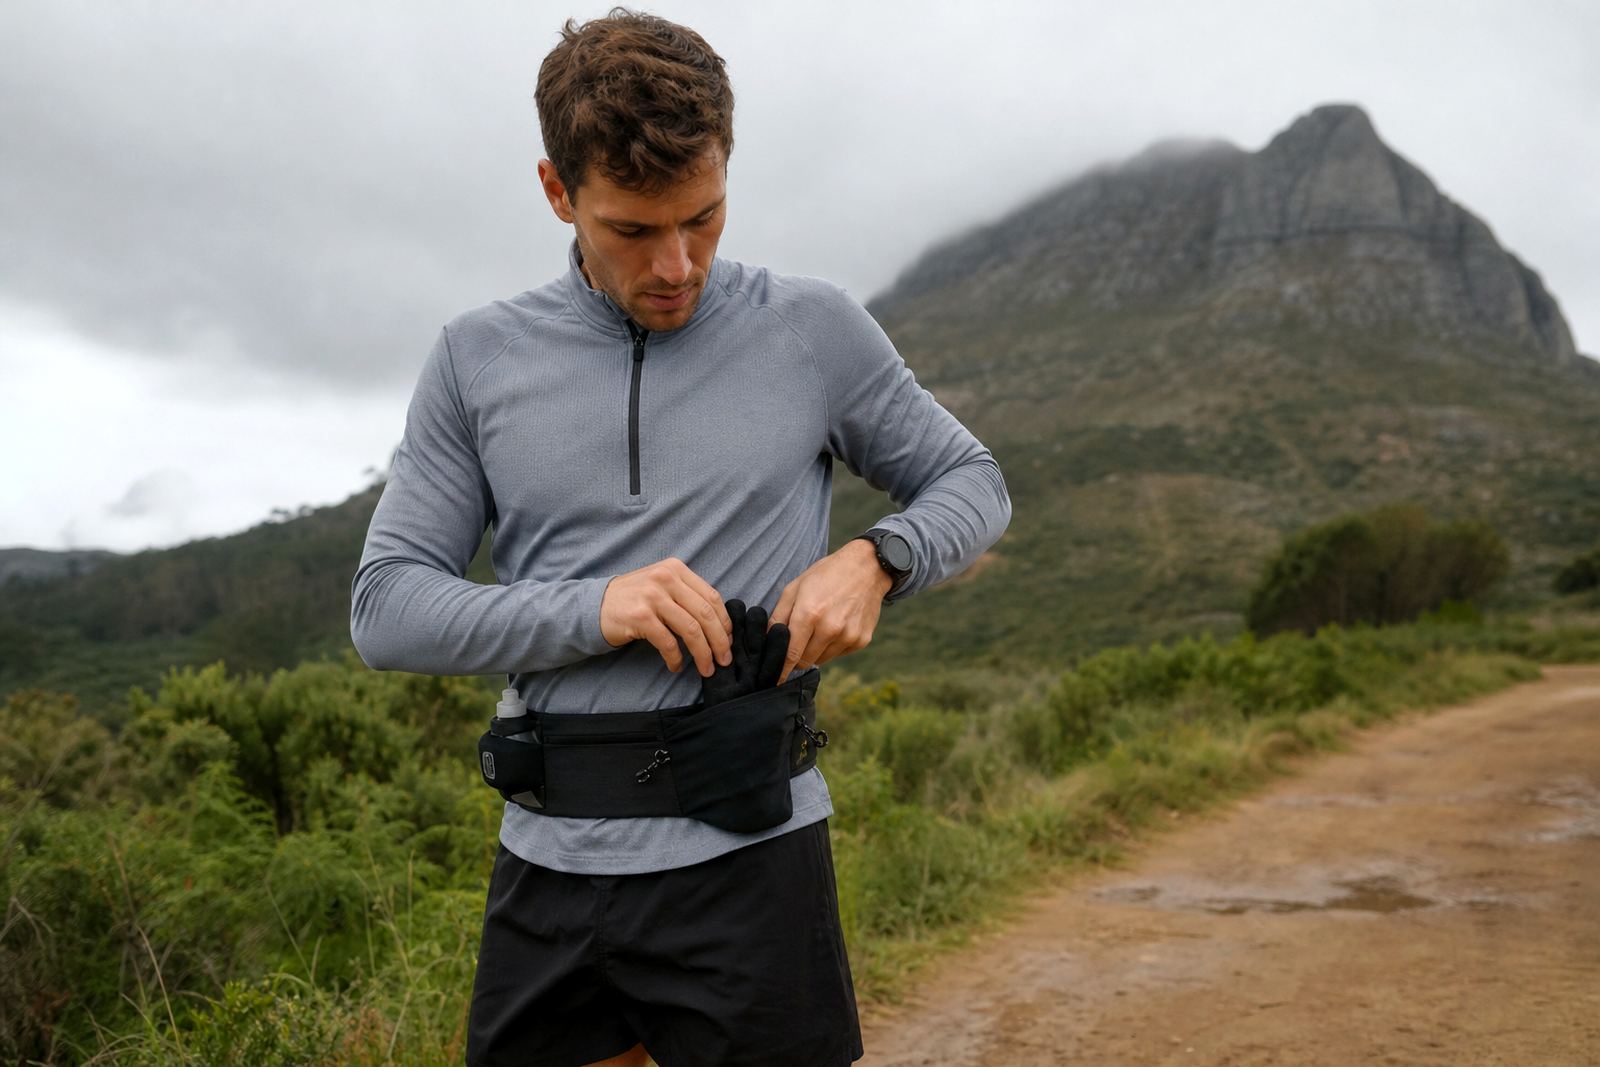
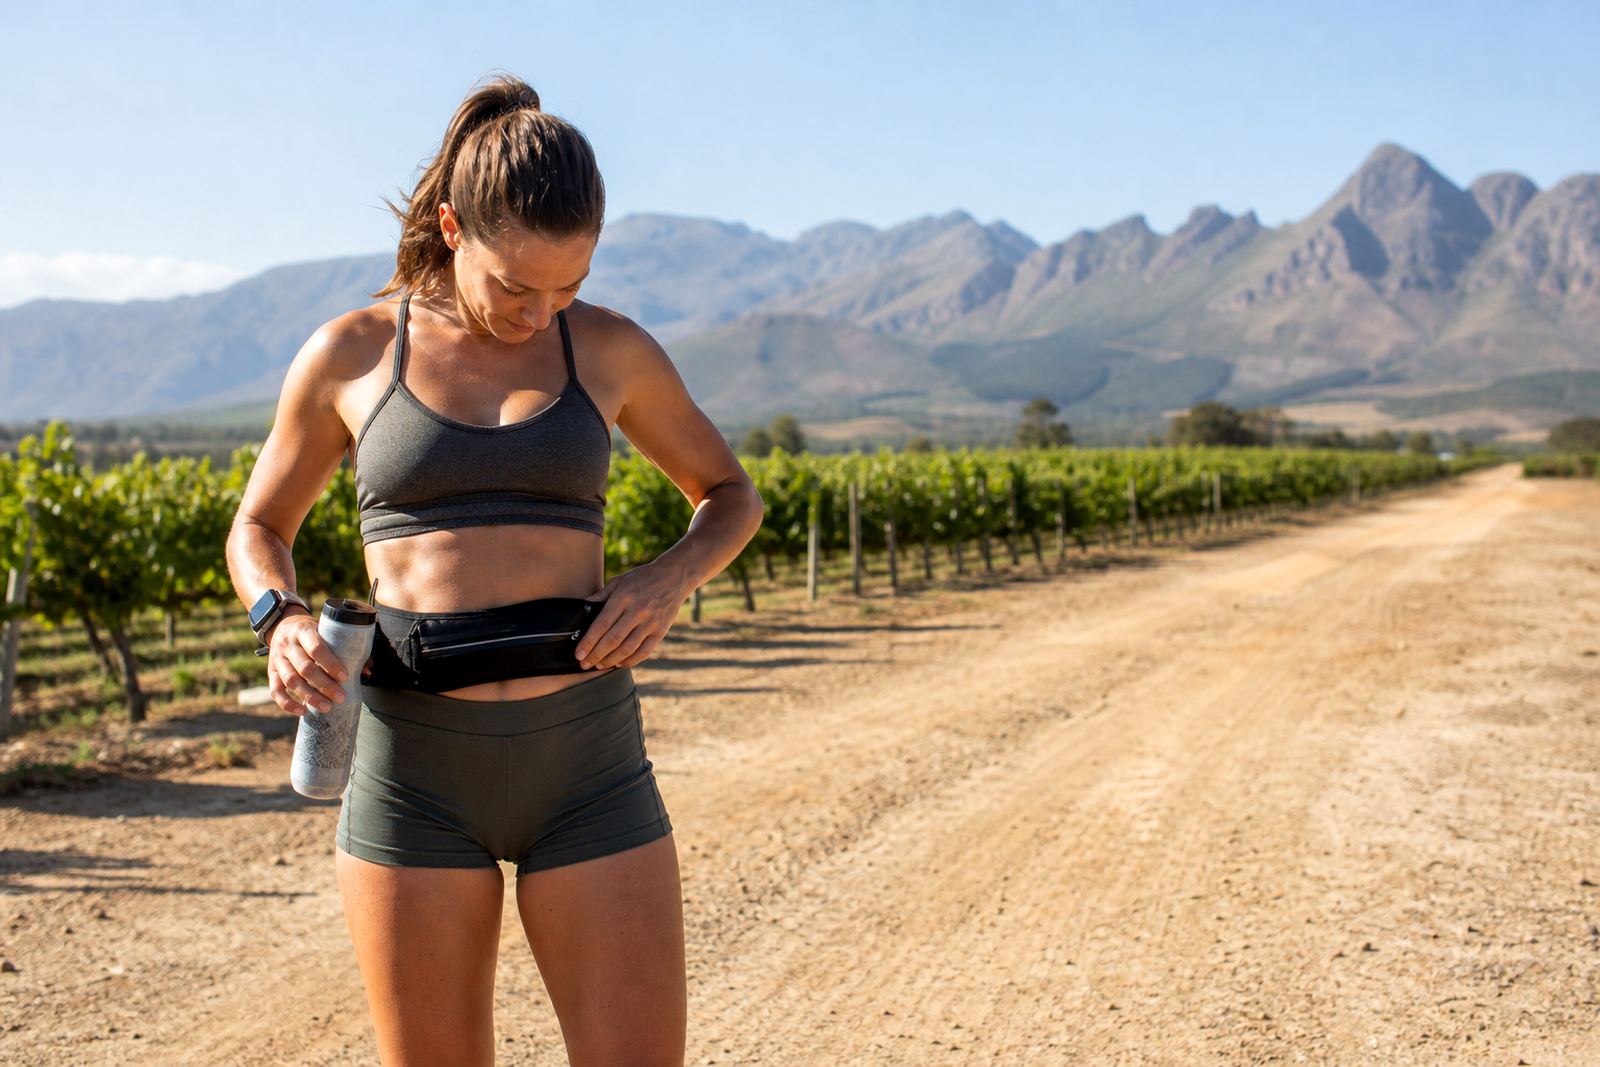
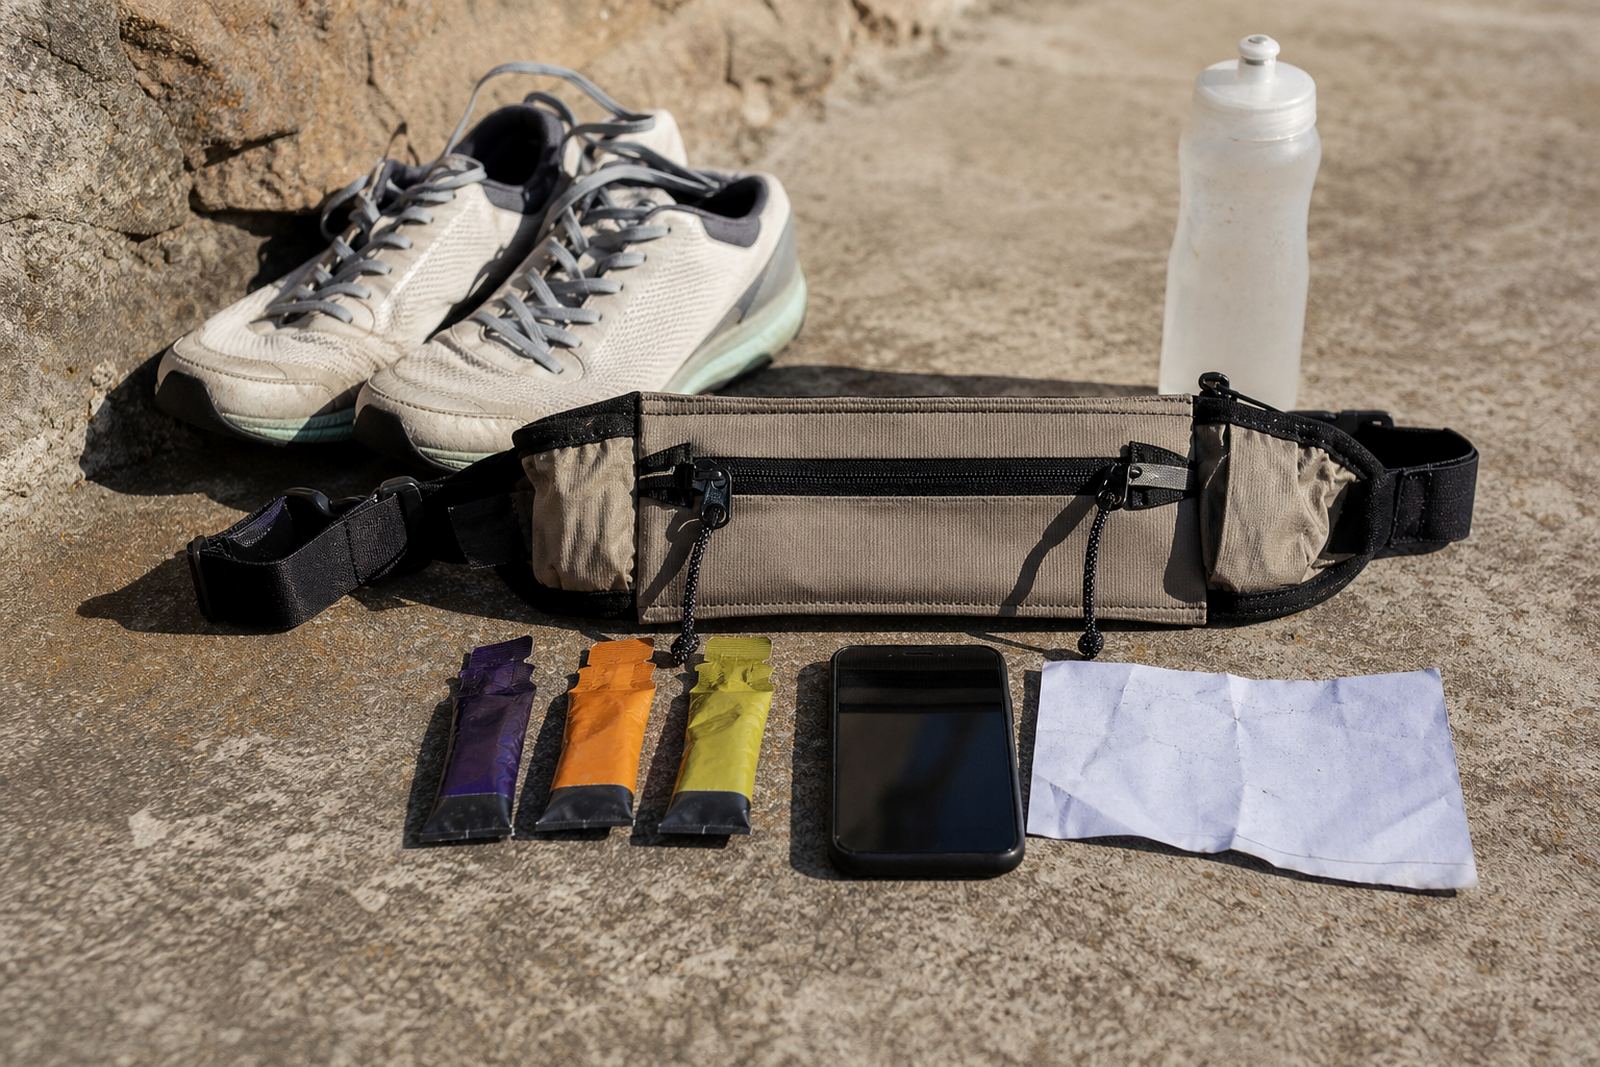
For a first marathon, the goal is simple: keep your essentials on you without bouncing, rubbing or forcing you to stop and sort through pockets. A waist belt should hold what you need in a way that feels calm and predictable. That means enough space for gels, a soft flask if you carry one, a small phone if required and perhaps a key or emergency note, but not so much that the belt starts shifting on the hips.
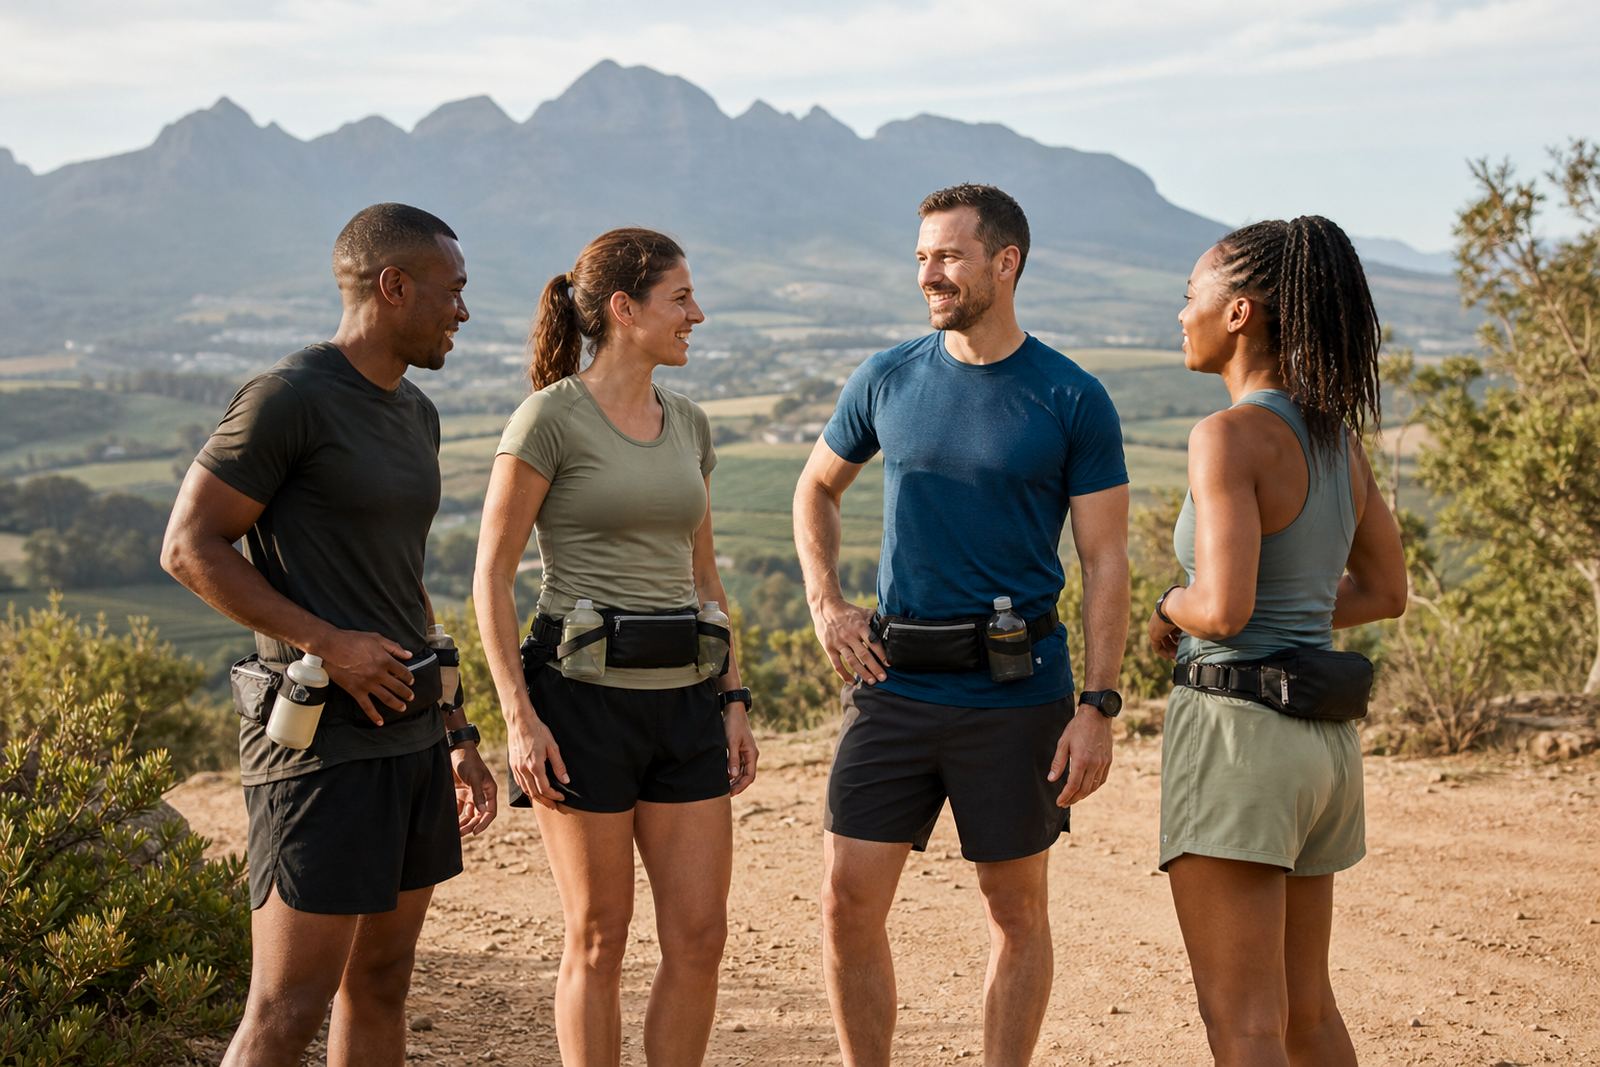
It also helps to match the belt to your route. Trail marathons around Stellenbosch or George often need a slightly firmer hold because of uneven ground, while a road marathon in Johannesburg may call for easier access to gels and less bulk. Small details matter when you are already managing pace, breathing and nerves.
What to Carry for 42.2 Kilometres
Your first belt plan should be practical, not overpacked. Most runners do better with the bare minimum and a clear order of access. Put the items you use first where you can reach them without thinking. If you fumble at kilometre 24, the belt is not doing its job.
- Fuel for the planned race distance, usually gels or chews
- A soft flask or hydration option if the event spacing needs it
- Car keys, race note or ID if the organiser requests it
- Anti-chafe balm or a small wipe for hot, sweaty conditions
- Phone only if you truly need it during the race
If your event has regular hydration tables, you may not need to carry much liquid. In that case the belt can be used mainly for fuel and a few small items. If the race is spread out or weather is warm, especially inland where mornings can warm up quickly, carrying a small amount of fluid gives peace of mind. The point is not to load yourself with options. The point is to reduce uncertainty.
Fit Comes Before Speed
A belt that sits too low will bounce. One that sits too tight will dig in by halfway. The right position is usually across the hips, snug but not crushing, with the load spread evenly on both sides. Try it standing still first, then jog, then run stairs or do a few short pickups so you can feel where the movement starts.
For a first marathon, many runners make the mistake of adjusting the belt only on race morning. That is too late. Wear it on training runs, at least on one longer outing and one faster session, so you can work out whether the fit changes when you sweat. Coastal humidity in places like Durban can make fabric feel different after 30 minutes, and a dry morning in Stellenbosch can turn into a much warmer effort by mid race.
- Keep the belt level, not tilted to one side
- Place heavier items close to the centre if possible
- Adjust after a short warm-up, not before you start moving
- Check for rubbing at the lower back and hip bones
- Test the belt on climbs, descents and turns
If you feel the belt creeping upwards, it is usually a sign that it is either too loose or sitting on the wrong part of the body. A proper fit should let you forget about it for long stretches, which is exactly what you want when the pace starts to bite.
Train With the Same Setup You Will Race In
Your marathon belt should not be a surprise on race day. Use the same loading pattern in training so your hands learn where everything sits. Practice taking a gel while running at steady pace. Practice reaching for a flask without dropping your rhythm. Even a few rehearsals make a difference, especially if this is your first time racing over the full distance.
Many runners plan their fuelling well but never practise the movement of actually taking it. That is where things go wrong. If the gel is difficult to open, if the pocket is awkward or if the bottle shifts when you bend, those problems will show up around the later kilometres. Better to find them on a Saturday run near Paarl or Somerset West than on marathon morning with the gun already gone.
Keep the training runs realistic. If you will race with two gels and a soft flask, do not train with six gels and a full bottle. The belt should feel familiar, not overloaded. Once the setup feels natural, your confidence improves because one more part of the day is already sorted.
How to Plan for Aid Stations and Heat
Marathon belts are not only about storage, they are about timing. In South Africa, race conditions can shift fast. A cool start in George can become warm later in the morning, while a windy day in Cape Town may leave you wanting smaller, more frequent sips. Plan the belt around the aid stations so you are never forced to make a hurried decision.
If stations are close together, carry less water and more fuel. If they are spaced further apart or you know you are prone to dry mouth under pressure, carry enough fluid to bridge the gaps. For first-timers, a simple plan usually works best: one fuel item for each planned segment, and a small reserve in case the course or your pace changes.
It also helps to think about event support. Some races offer bag drops, some do not. Some allow you to hand off items before the start, while others expect you to keep everything on body. Read the instructions early, then set up your belt to fit those rules. That saves time and avoids last minute stress.
A Stellenbosch Example for a First-Time Marathoner
Take a runner based in Stellenbosch preparing for a first marathon with a road race in Cape Town. The runner wants to carry four gels, a small flask and a phone for emergency contact only. The course has regular water points, but the runner knows nerves can make it hard to focus on what is available when. A slim belt with two equal pockets, one front access section and a secure central hold gives a clean starting point.
During training, that runner uses the same setup on a 24 kilometre run through the winelands. The first gel is placed where it can be reached without stopping. The flask sits snug against the hip, not swinging. After 15 kilometres, the runner notices a small rub where the belt sits too low, so the fit is lifted slightly the next week. By race day, the belt is no longer something to manage, just part of the routine.
That is the real value of a first marathon belt plan. It removes one layer of doubt. You still have to run the miles, but you do not have to worry about your fuel moving around or your pockets failing you.
Simple Checklist Before You Line Up
The night before the race, lay the belt out with the exact items you will use. Do not keep swapping things in and out. Keep the plan short and repeatable, and give yourself enough time to check the fit once more before leaving for the start. A calm setup often matters more than a clever one.
- Load the same fuel you used in training
- Check the belt sits flat and even
- Confirm you can reach each item without stopping
- Test that nothing bounces when you jog
- Pack only what the race instructions allow
If you are unsure, keep the system simpler rather than fuller. A first marathon is already demanding. The belt should support your pacing, your fueling and your peace of mind, not add another decision to a day that already asks plenty from you.