
Start With the Distance, Route and Aid-Station Gaps
Before you choose a belt, work backwards from the event. A 15 km trail race around Stellenbosch has very different needs from a 50 km mountain day or a road ultra in Durban where aid stations may be farther apart and the humidity rises fast. If you are moving for more than two hours, your belt should support regular hydration, easy access to fuel and enough storage for small items without bouncing.
Think about the course profile too. Steep climbs, single-track and windy ridge sections all put more strain on the fit. A belt that feels fine on a flat training loop can ride up when you are climbing or descending. For long race days, the goal is steady comfort and a simple routine: reach, sip, eat, carry on.
- Short trail or road event: light storage, quick-access hydration.
- Middle distance: room for gels, soft flask or small bottle, and a phone.
- Ultra distance: stable load, sweat-friendly fabric and repeat refills.
- Hot coastal race: choose a setup that holds bottles securely and dries fast.
How Much Storage Do You Really Need?
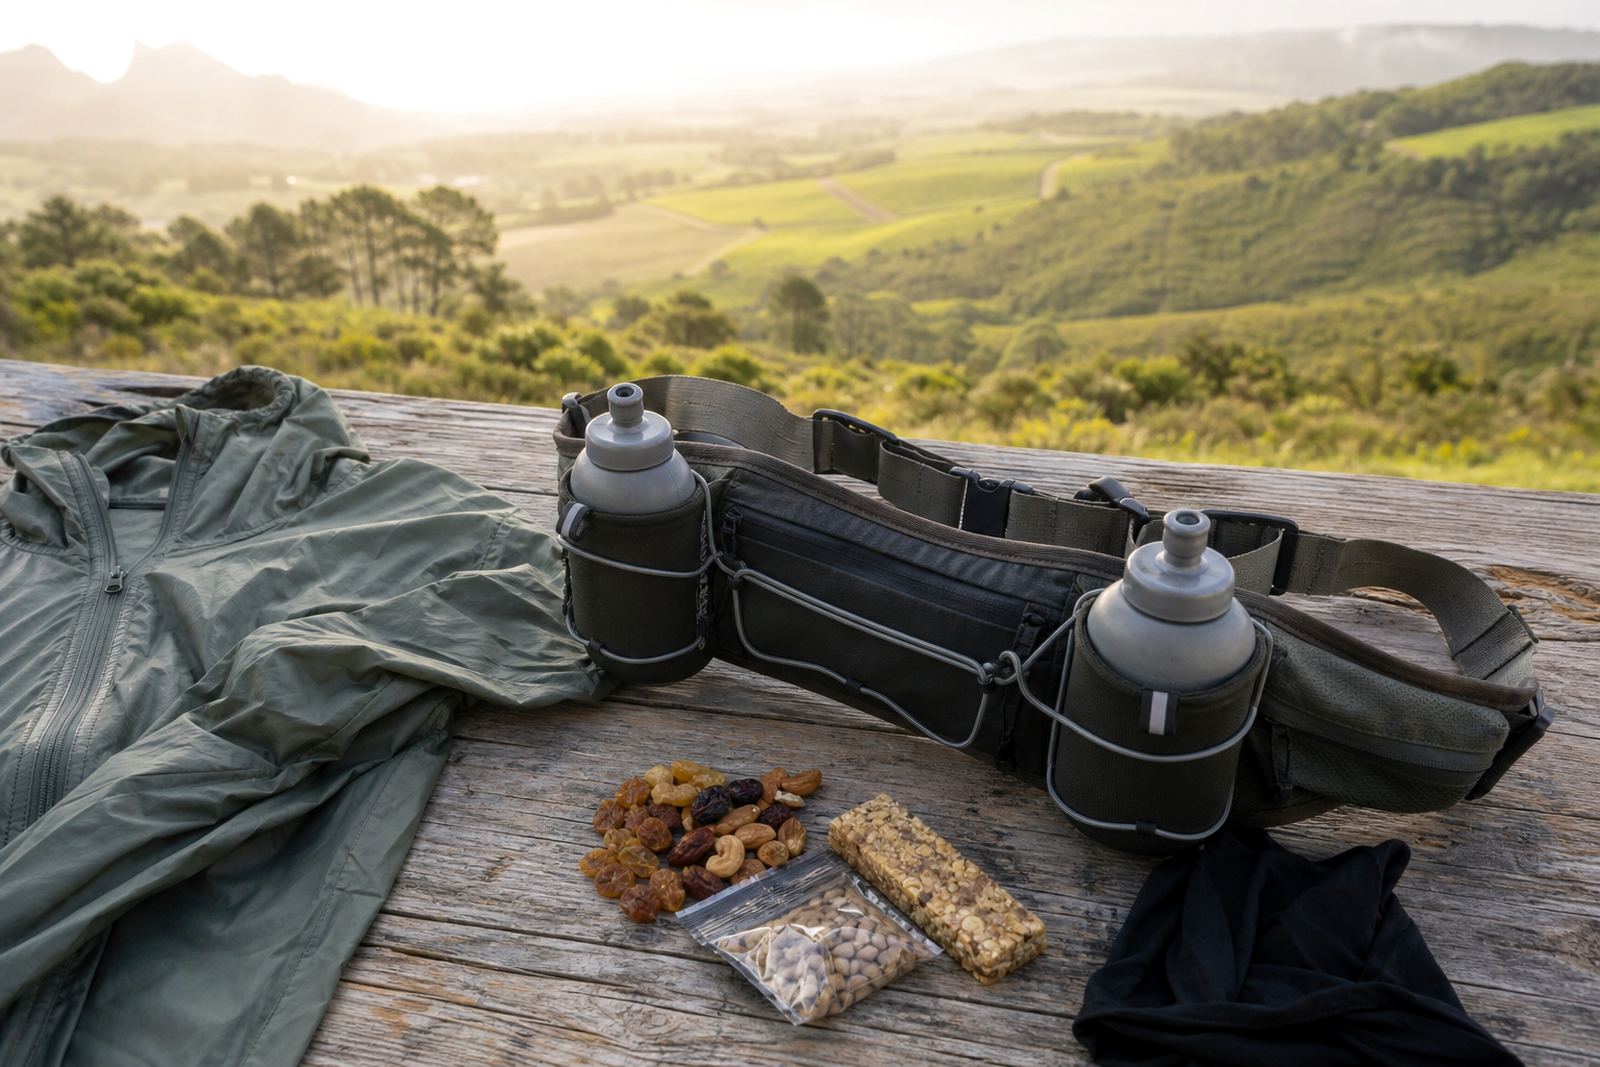
Storage volume sounds simple, but the wrong size can cause trouble. Too little and you end up stuffing items into the belt so tightly that it feels stiff. Too much and the load shifts around on the hips. For most ultra runners, the best setup is a tidy main compartment for essentials, plus small pockets for fuel, lip balm, plasters and a folded cash note. Keep the load close to the body and avoid loose items that knock against each other.
Use this quick packing rule: carry only what you need in the next section of the route, not your full race kit. That keeps the belt light and helps you stay balanced on technical ground. If you train on the same loop every week, test different pocket layouts until you know where each item lives without looking down.
- Phone: easy reach for map checks or emergency contact.
- Fuel: gels or chews arranged in order of use.
- Keys: secured in a separate pocket so they do not scratch other items.
- Small first aid items: blister strip, salt tabs or anti-chafe balm.
Hydration Flexibility for South African Conditions
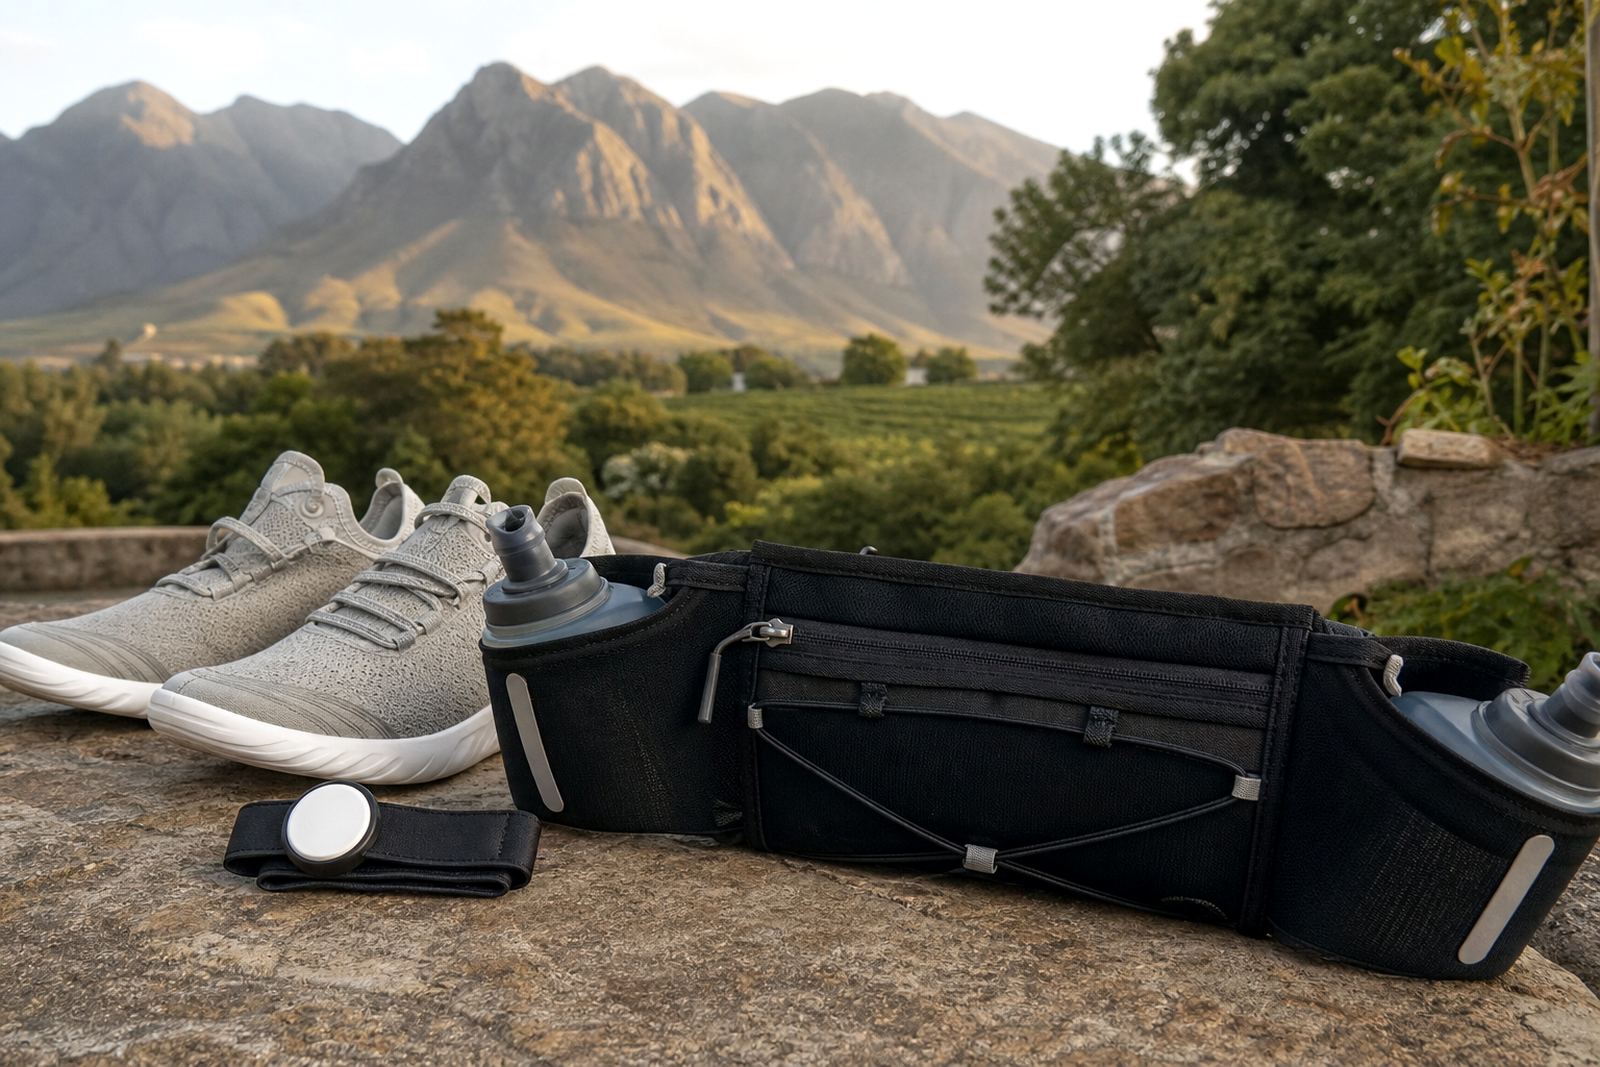
Hydration needs change quickly in South Africa. A cool morning in George can turn into a warm afternoon, while Stellenbosch granite trails can feel drier than expected. A good ultra belt should allow for flexible hydration rather than forcing one fixed setup. Some runners prefer one bottle, others like two smaller containers for balance, and many event teams ask for layouts that suit different participant preferences.
If you train in windy conditions or on exposed roads, secure the bottle openings so they do not splash or loosen. For longer efforts, plan how often you will refill and where the next stop is. During load-shedding periods or dry summer training, it also helps to prepare bottles the night before so you can leave on time and avoid rushing. A belt that keeps hydration accessible makes it easier to drink little and often instead of waiting until you are already thirsty.
- Single bottle setup: best for shorter long runs and lighter packing.
- Dual bottle setup: useful for hotter days and longer gaps between stops.
- Soft flask setup: compact, less bounce, easy to squeeze while moving.
- Race day check: confirm closures, valve position and fill level before the start.
Fit, Bounce Control and All-Day Comfort
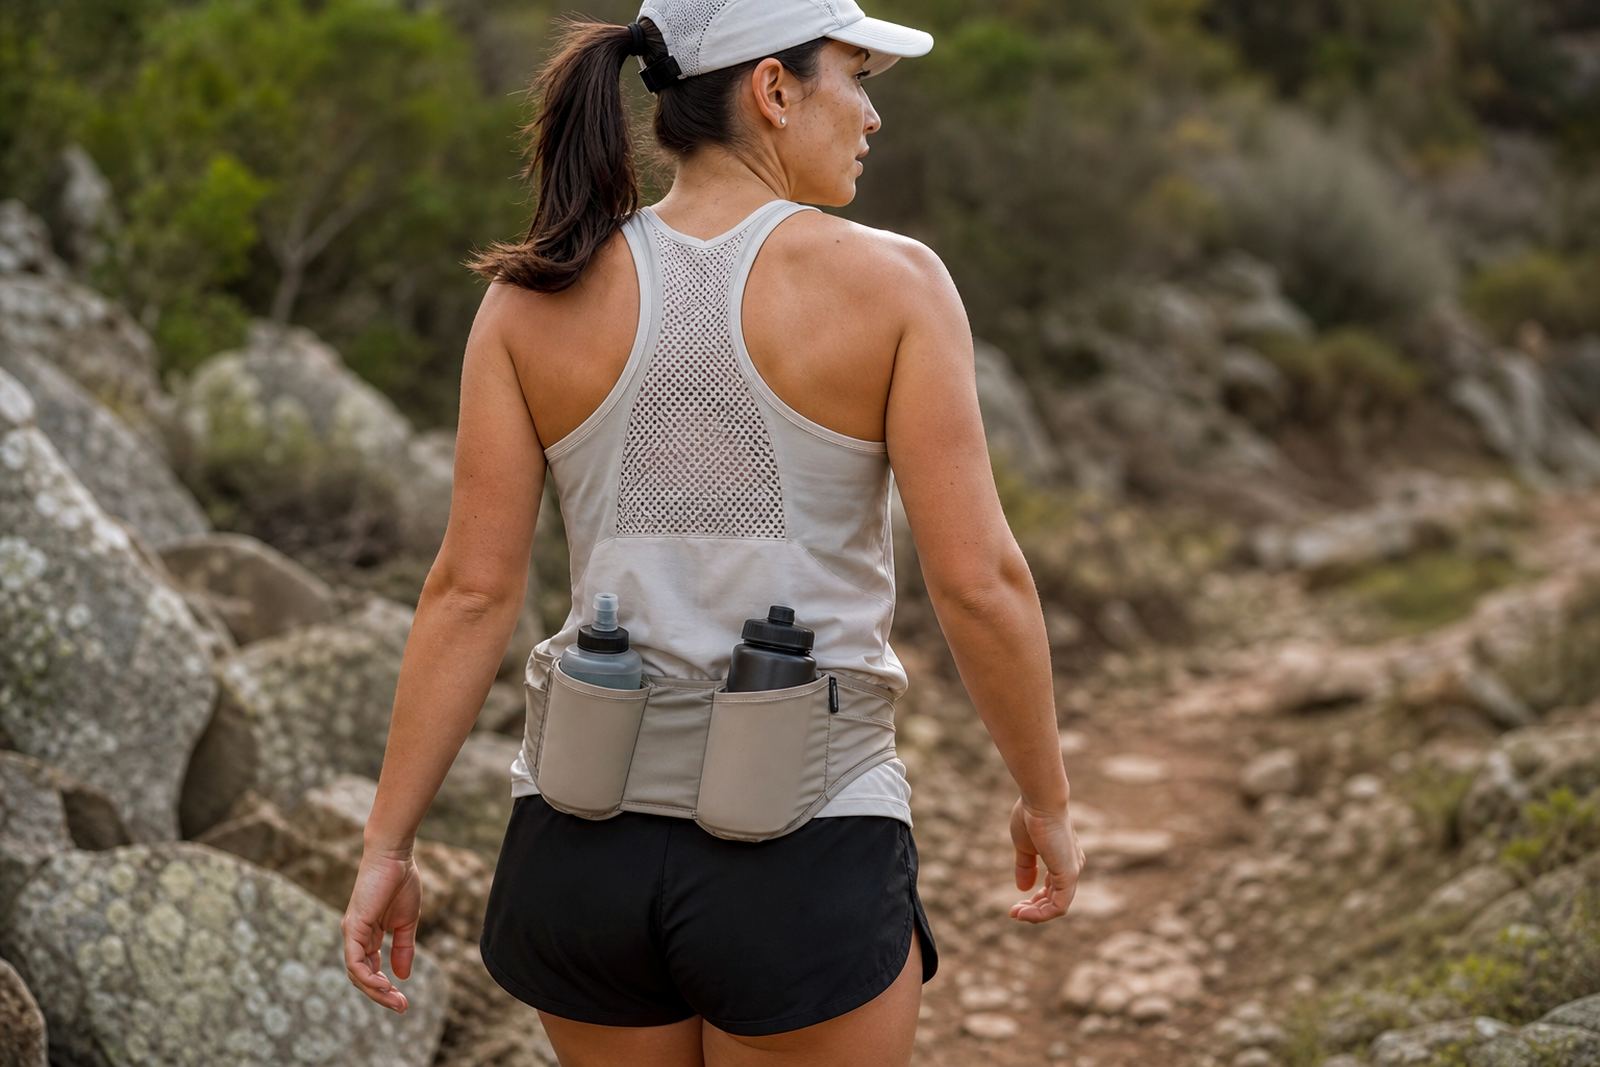
Comfort on an ultra is not just about softness. The belt must stay stable when you are tired, sweaty and changing pace. Start by fitting it snugly around the hips, not the waistline, because the hips give better support on long runs. The belt should feel firm but not restrictive. If it needs constant adjusting in the first kilometre, it will annoy you for the rest of the day.
Run a few testing loops with the full load. Jog, walk, climb stairs and take a quick downhill section if possible. Watch for rubbing at the lower back or sides, and check whether the belt shifts when you reach for a bottle. Small fit changes matter more than most people think, so try the same gear on different body positions, especially if you wear a race singlet or layered top.
- Put the heaviest items in the most centred pocket.
- Keep hard objects away from the spine and hips.
- Adjust the belt after five minutes, then again after twenty.
- Test it with the same shirt and shorts you will race in.
A Simple Pre-Race Packing Routine
Good packing saves stress on race morning. Lay everything out the evening before and build the belt in the same order each time. That way you know where your fuel, phone and keys are without checking in a panic at 4 am. For club events and larger races, a repeatable packing routine also makes group support easier because everyone knows what should be inside the belt.
Use a simple sequence: fill hydration, add fuel, place valuables last and do one final fit check. If you are carrying race inserts or event paperwork, keep them flat and protected from moisture. A light dusting of rain or the spray from a marshalled aid station can quickly ruin paper if it is not sealed. The more consistent your packing system, the less chance of leaving something behind.
- Check bottle caps, zips and seams for wear.
- Pack gels in the order you plan to use them.
- Keep a spare blister patch in the same pocket each time.
- Do a 3 minute shake test before you leave.
When Clubs and Events Need a Belt Plan
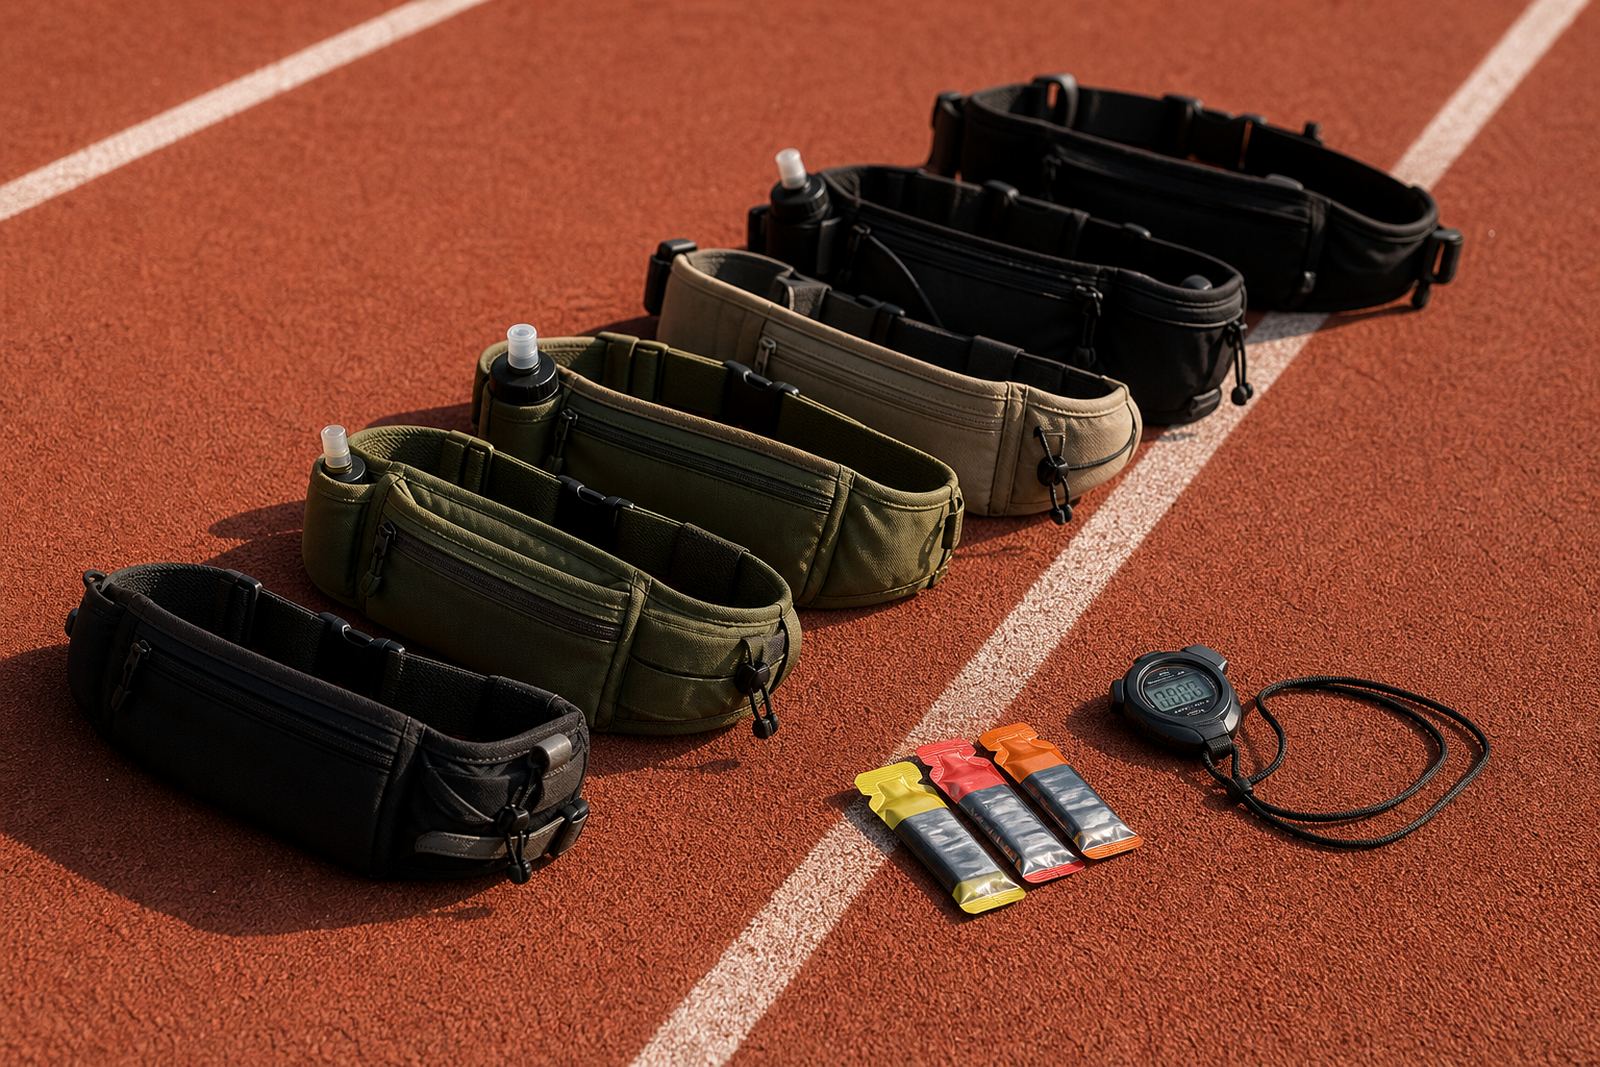
For clubs, schools and race organisers, ultra belts can be planned in batches so participants get the right fit and storage layout from the start. That helps on event day when time is tight and people need clear guidance on what to carry. A good order plan should account for size ranges, hydration preferences and whether the run includes crew support or self-sufficient sections.
Teams in Cape Town, Johannesburg, Durban, George and Stellenbosch often need different packing approaches depending on terrain and climate. Coastal events may favour quicker drying materials, while inland trail groups often want extra storage for longer between-stop sections. If you are organising a race, build in enough time for sizing, dispatch and last minute adjustments so the belts arrive ready for use, not last minute.
- Confirm participant sizing early.
- Separate starter packs from crew kits.
- Allow for custom colour runs where needed.
- Plan an event-day support point for quick issue resolution.