
Start with the race rules and the distance
Before you choose a belt, check what the event allows. Some road races want your bib flat and visible on the front, while trail events may be more relaxed about how you carry fuel and water. If you are running in Stellenbosch, Cape Town or Durban in summer, heat and humidity can change how much water you want to carry. In cooler inland races, a lighter setup may be enough.
Distance matters too. For a 5 km or 10 km event, a slim belt for keys, a gel and your bib may be all you need. For half marathons, trail races and longer road events, look for a belt that can carry a soft flask, extra fuel and a phone without bouncing around. If the route has long stretches between aid stations, plan for that on race morning, not halfway through the race.
Get the fit right before you load it up
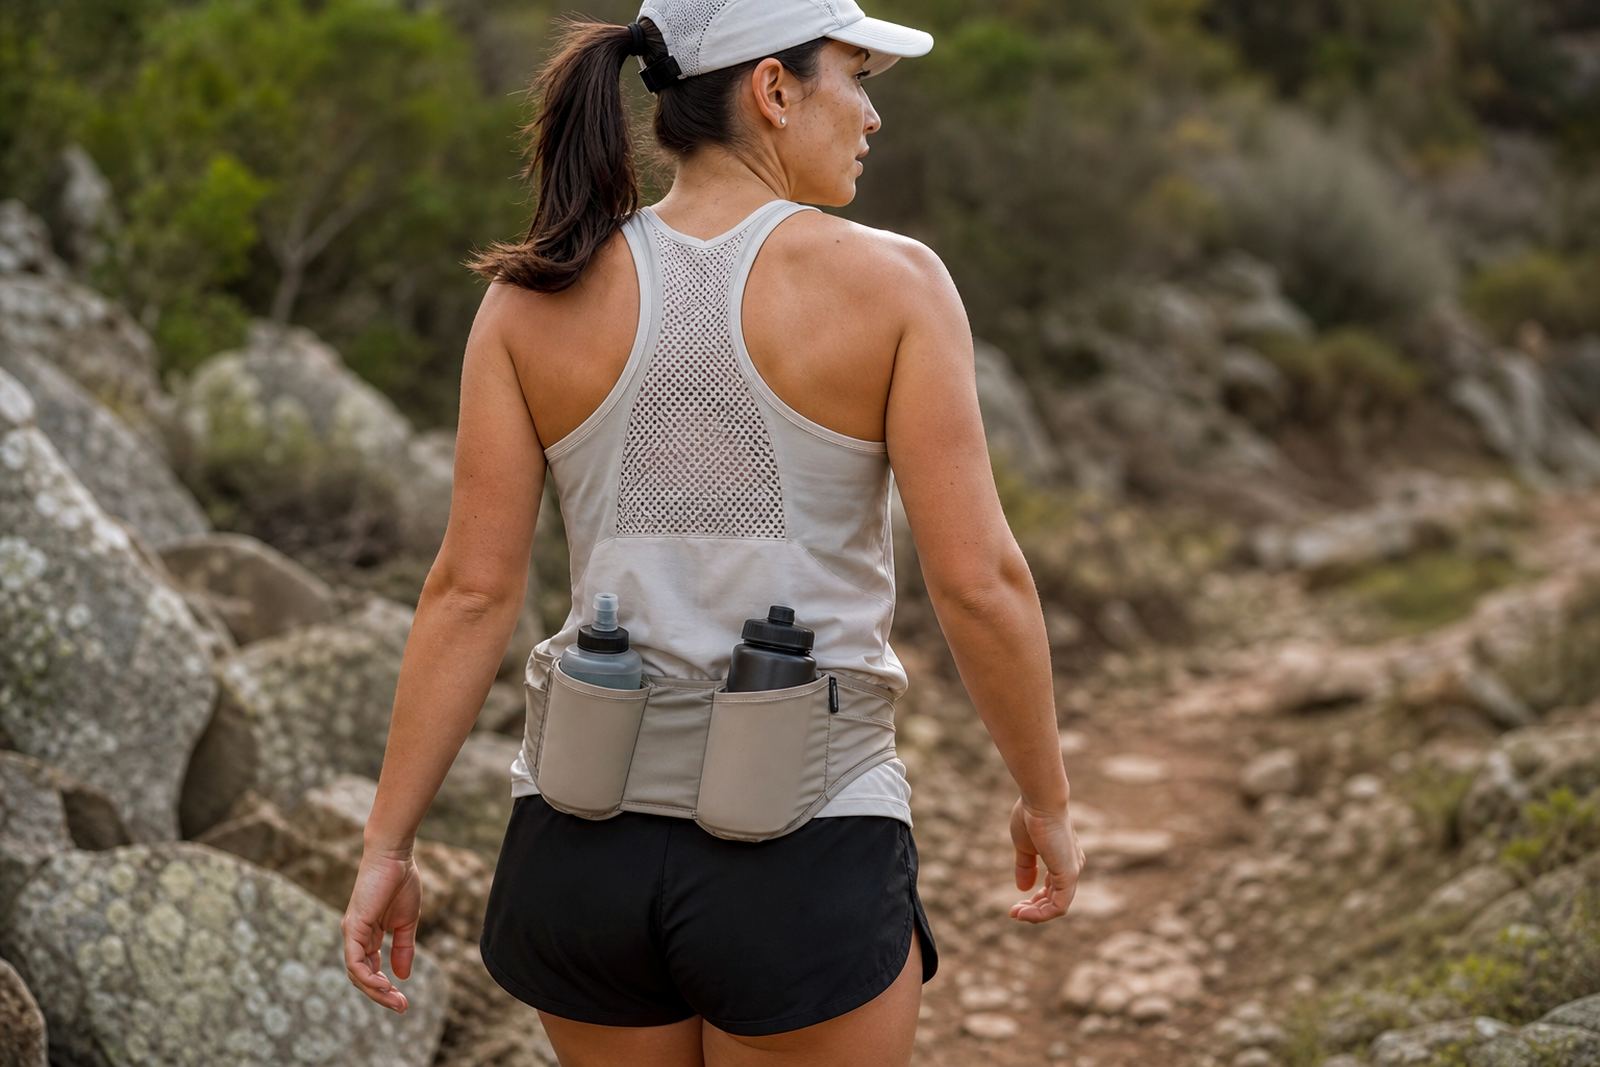
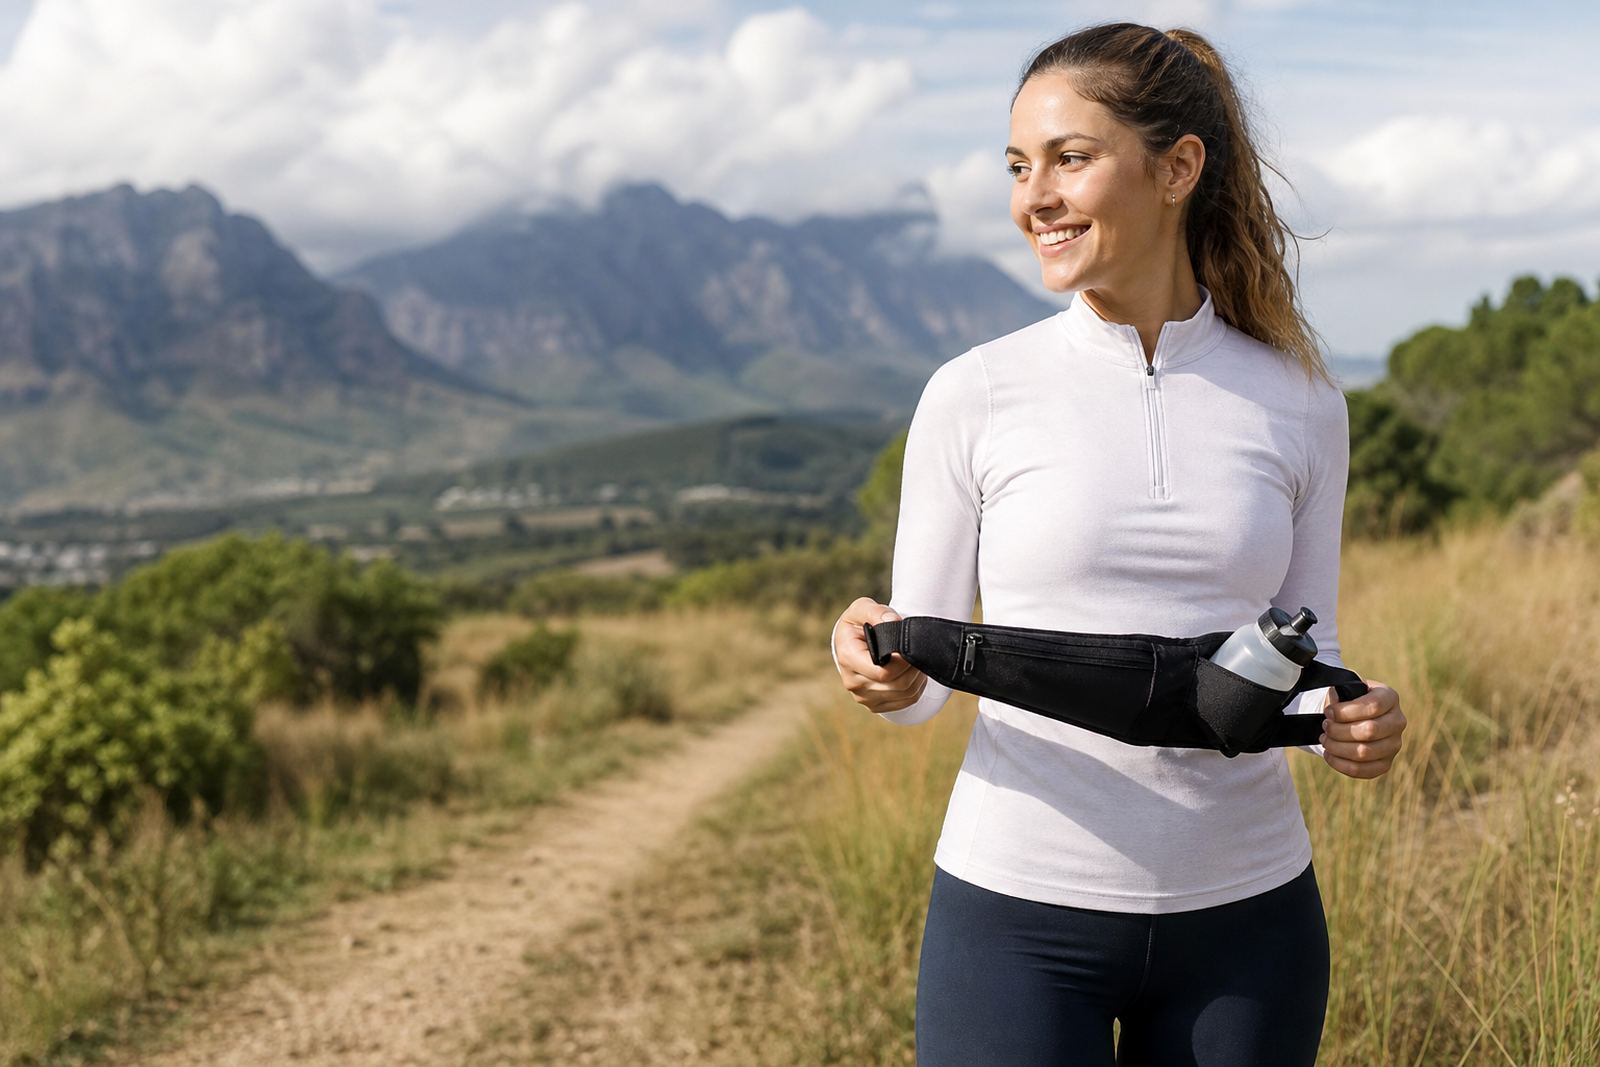
A good belt should sit snugly on the hips and not ride up when you start running. If it is too loose, it will bounce. Too tight, and it can feel distracting by the second kilometre. Try it on over the same clothing you will race in, especially if you use a singlet, vest or light jacket on cold mornings in Johannesburg or George.
When fitting the belt, aim for a stable hold with no pinching. Move, jog in place and bend forward a few times before deciding. You want the belt to stay in position when you drink, reach for a gel or turn at an aid station. A good fit also helps on downhill sections where movement is more noticeable.
- Check that the belt sits level, not twisted.
- Run a short test with water inside.
- Make sure your bib does not flap loose.
- Test it with the shoes and kit you will race in.
Plan your storage around what you actually use
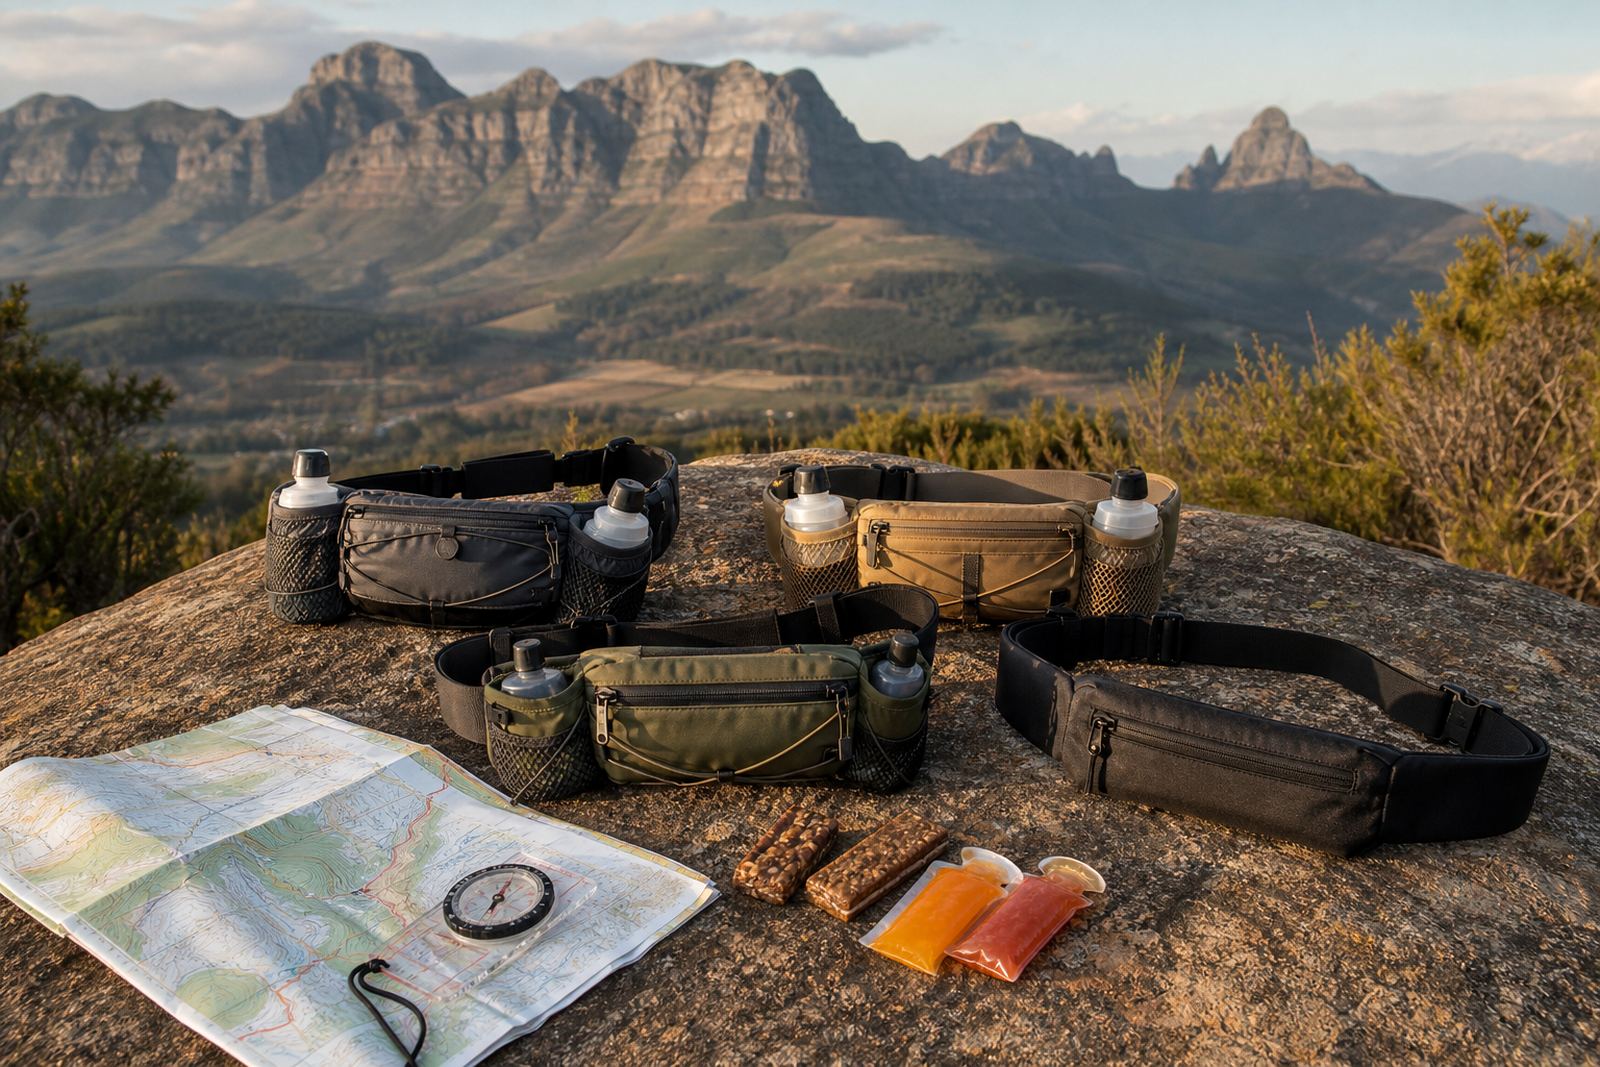
Many runners pack too much, then spend the race hunting for a gel or fumbling for a phone. Keep the layout simple. Put the items you need most often where your hands can reach them easily, and place less urgent items in the secure sections. On trail routes around Stellenbosch and Paarl, a balanced layout helps stop the belt shifting when the path gets rocky.
Think about the order in which you will use your kit. If you take a gel every 30 to 40 minutes, keep the first one at the front. If you need salt tabs or plasters for long events, tuck them into a separate pocket so they do not get crushed. A little planning before race day saves time and reduces fuss on the run.
- Front: bib, first gel, salt tabs.
- Side: soft flask or small bottle.
- Rear: phone, keys, card and emergency contact details.
- Small pocket: plasters, anti-chafe balm, spare hair tie.
Choose hydration that suits the route and the weather
Hydration is not the same on every course. A cool winter road race in Bellville calls for a different setup than a warm trail event outside Durban. If the route has regular aid stations, you may only need enough water to bridge the gaps. If the course is exposed, dusty or hot, carry more than you think you need. Coastal humidity can also make you sweat more than expected even when the temperature is mild.
For shorter races, a single flask or small bottle may be enough. For longer runs, look for a belt that keeps the bottle steady and easy to reach. Test the mouthpiece or cap while moving so you know whether you can drink without slowing down too much. The goal is simple: enough fluid, no bounce and no wasted effort.
Bib attachment should stay flat and visible
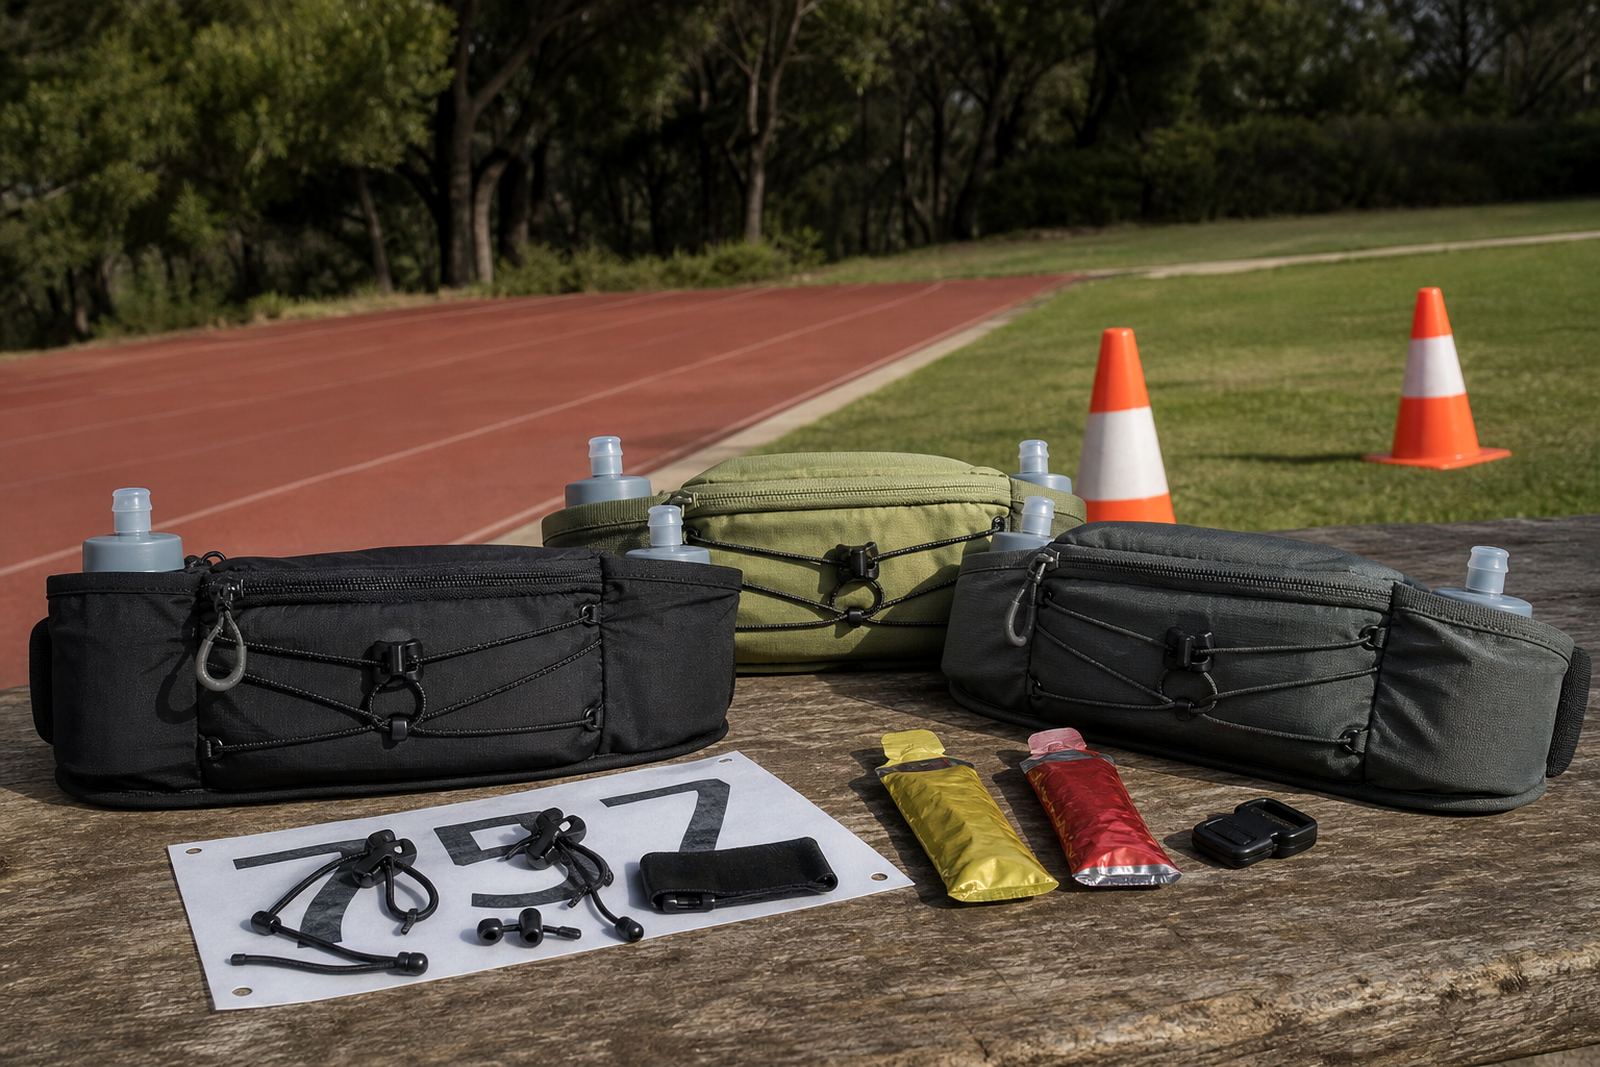
Race bibs need to stay in place, and that means the attachment method matters. A belt with a secure front panel or clear bib clips can save you from awkward last-minute pinning. Make sure the number sits flat and does not fold when you tuck in a top layer or clip on a flask. In windy conditions near the coast, loose corners can flap and become irritating.
Check the bib position before the start line, not after. If the number is too low, it may get covered by your hands or waist pack. Too high, and it may rub under your chest strap or top. Do a full dress rehearsal the day before if possible, especially for club races or events where your timing chip and bib must be plainly visible.
Use a simple race-day checklist the night before
The best race morning is the one with less thinking. Lay out your belt and load only the items you plan to carry. Then do a short walk or jog in the driveway, around the block or on a quiet path to feel for bounce, tight spots or noisy items. If anything shifts, adjust it before you leave. A two minute check can save you from irritation over 10 or 21 kilometres.
For event teams, the same idea applies at scale. Group sizing, belt allocation and dispatch should be checked early so participants get what they need on time. For runners, the final job is simple: pack, test, then race.
- Bib attached and visible.
- Fuel packed in the order you will use it.
- Water filled to the right level.
- Keys, phone and ID secured.
- Belt tested with a short jog.
- No loose straps or awkward rubbing points.