
Start With the Event Format and Who Needs a Belt
Before you place an order, map the event by user type. A 10 km road race in Cape Town needs a different setup from a trail ultra in Stellenbosch or a school fun run in George. Participants usually need light storage and easy access to hydration, while volunteers and crew may need space for radios, gloves, tape, sanitiser and small first-aid items.
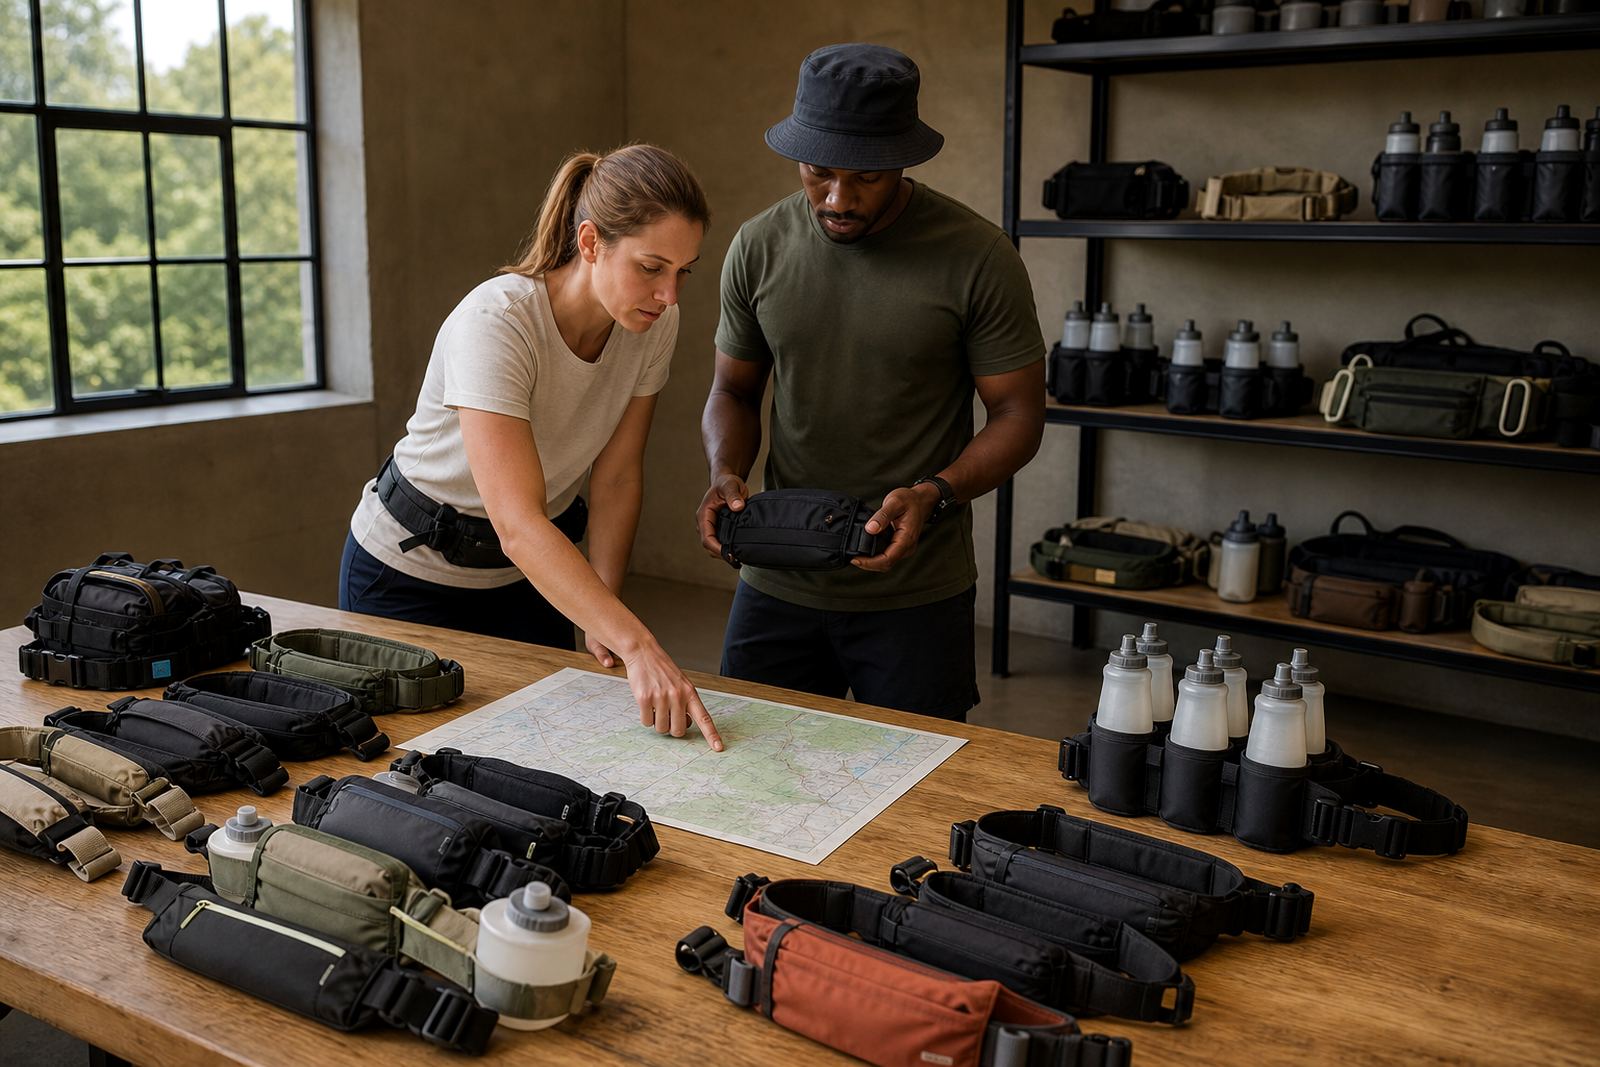
It helps to split the order into three groups: runners, volunteers and operations staff. That way you can plan quantities, sizing and colour use with less guesswork, and avoid sending the wrong belt to the wrong station. For coastal events in Durban or the Cape, think about sweat, salt air and quick drying materials. For winter trail events, allow for rain layers and windy conditions.
- Participant belts: gels, keys, soft flasks, small phone storage
- Volunteer belts: gloves, note cards, tape, whistle, hand sanitiser
- Crew belts: radios, cable ties, markers, spare battery packs
Match Belt Type to the Job on Race Day
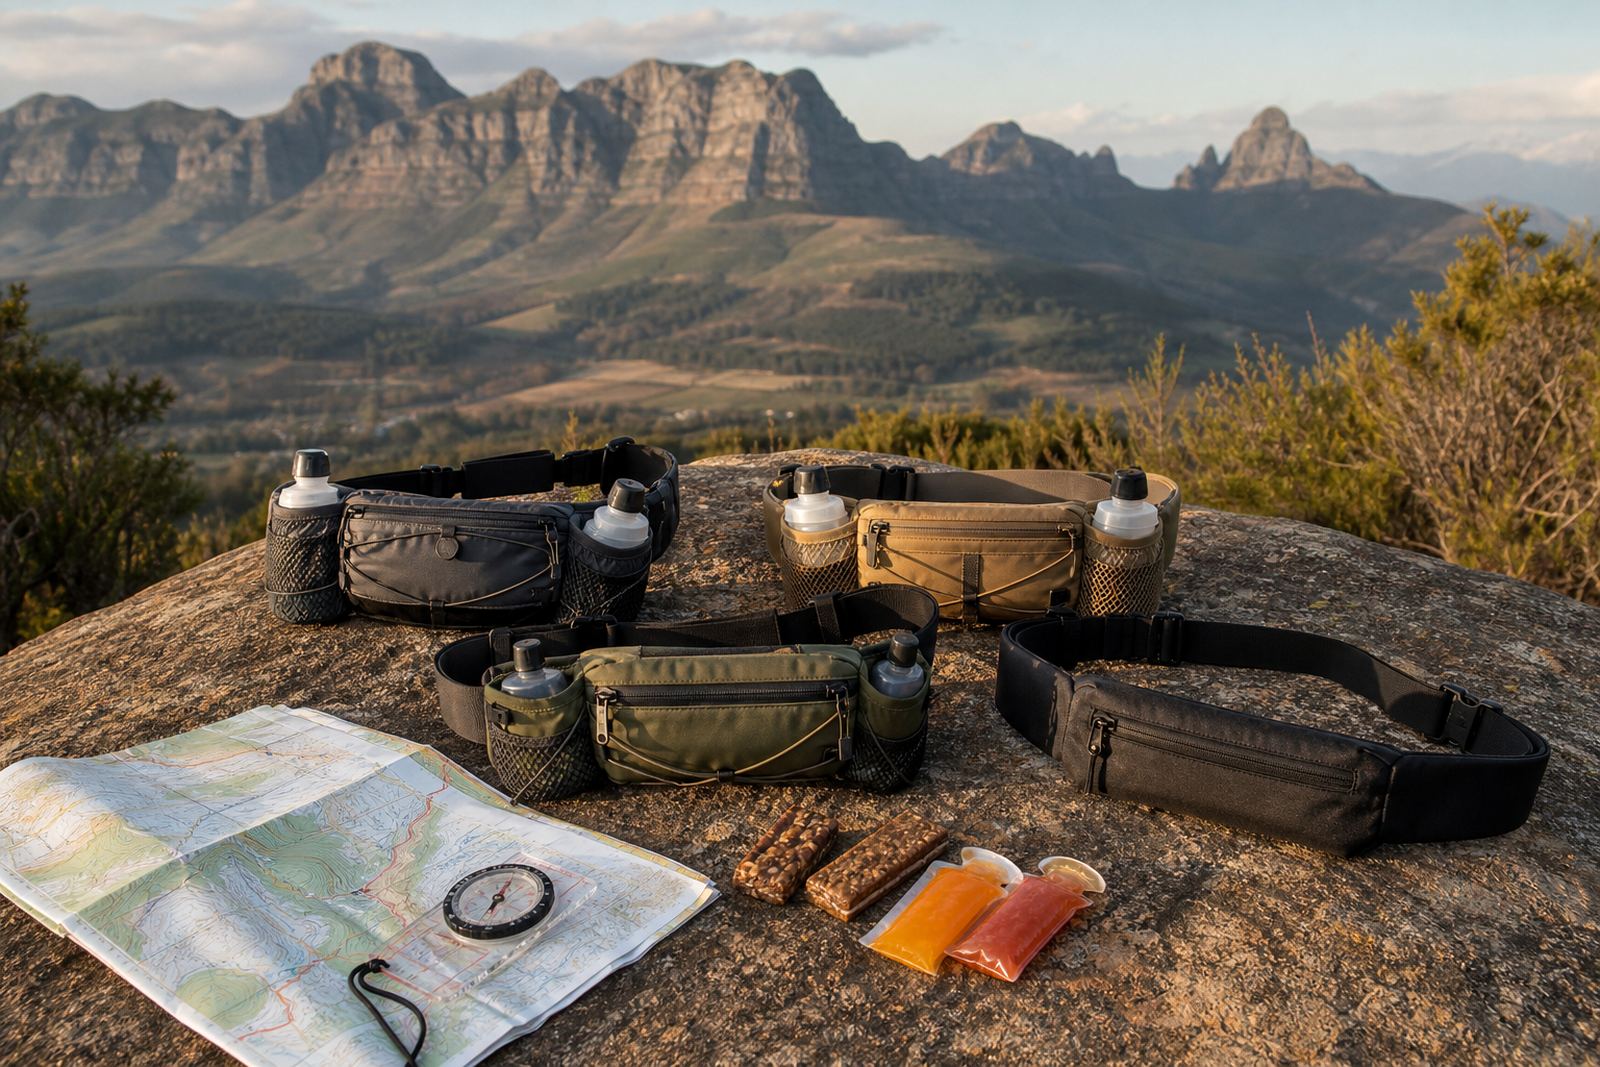
Not every belt should do the same job. A narrow participant belt suits runners who want minimal movement on the waist, while a slightly wider event belt may suit longer trail routes where hydration and storage matter more. For marshal teams, a belt with clear compartments makes it easier to keep small items organised during a busy start or finish funnel.
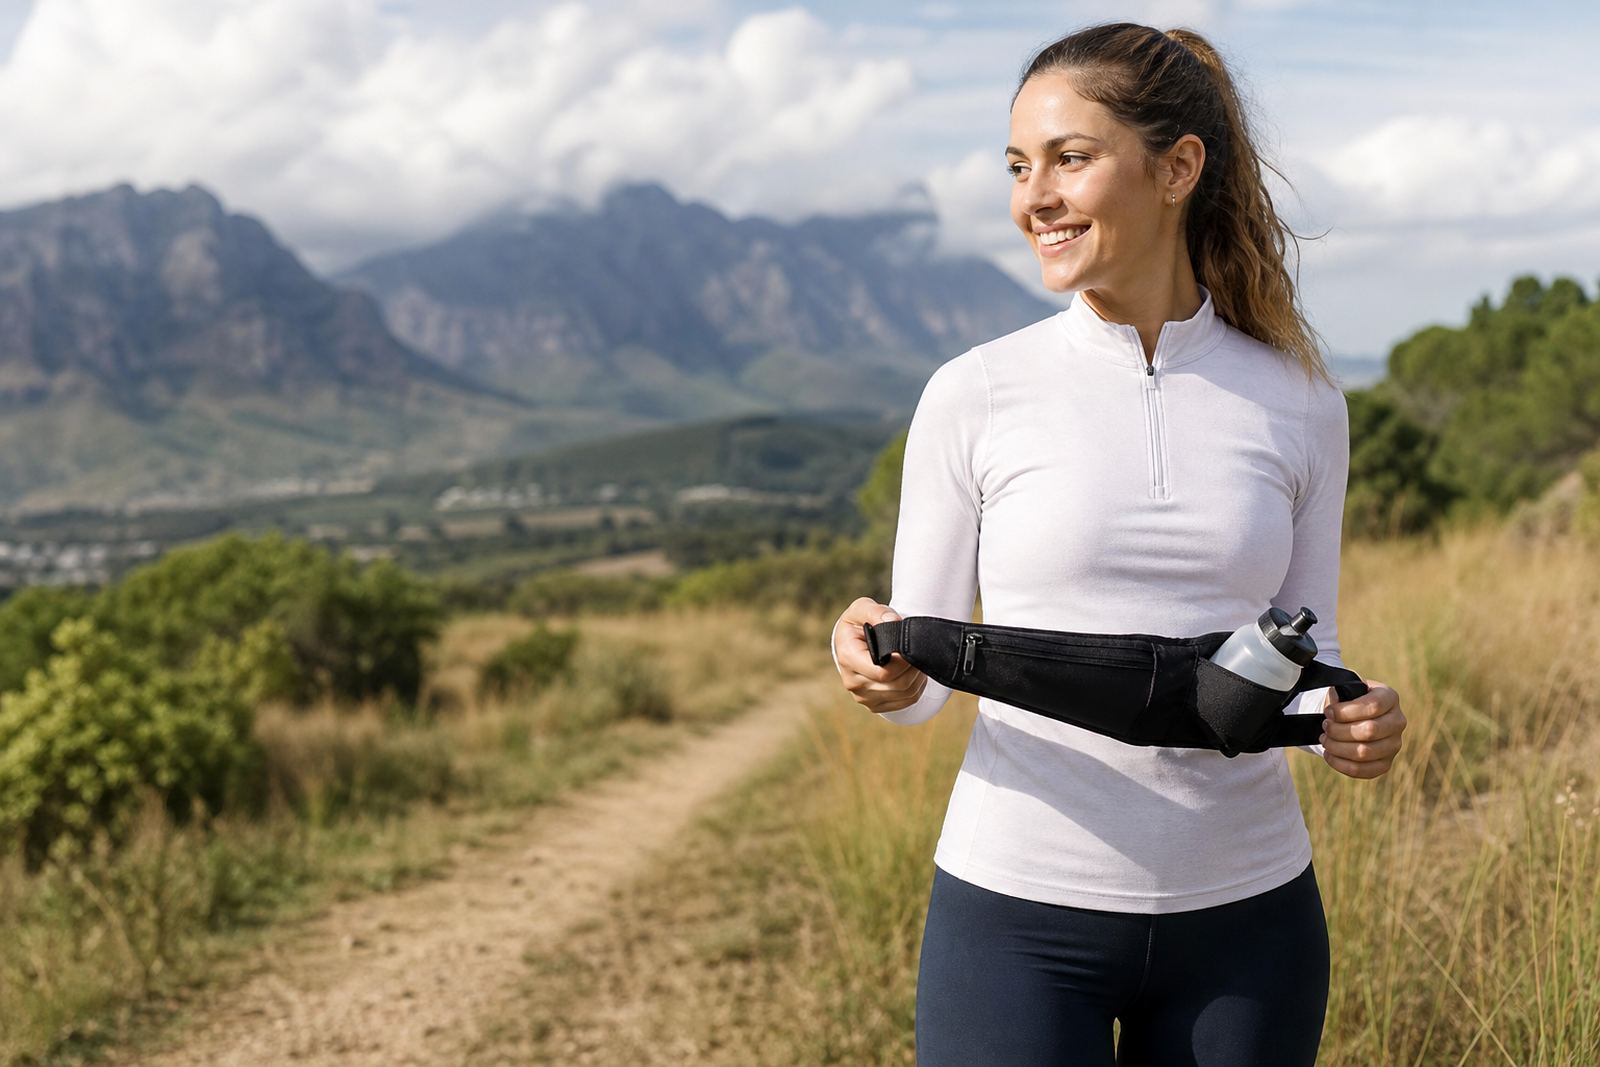
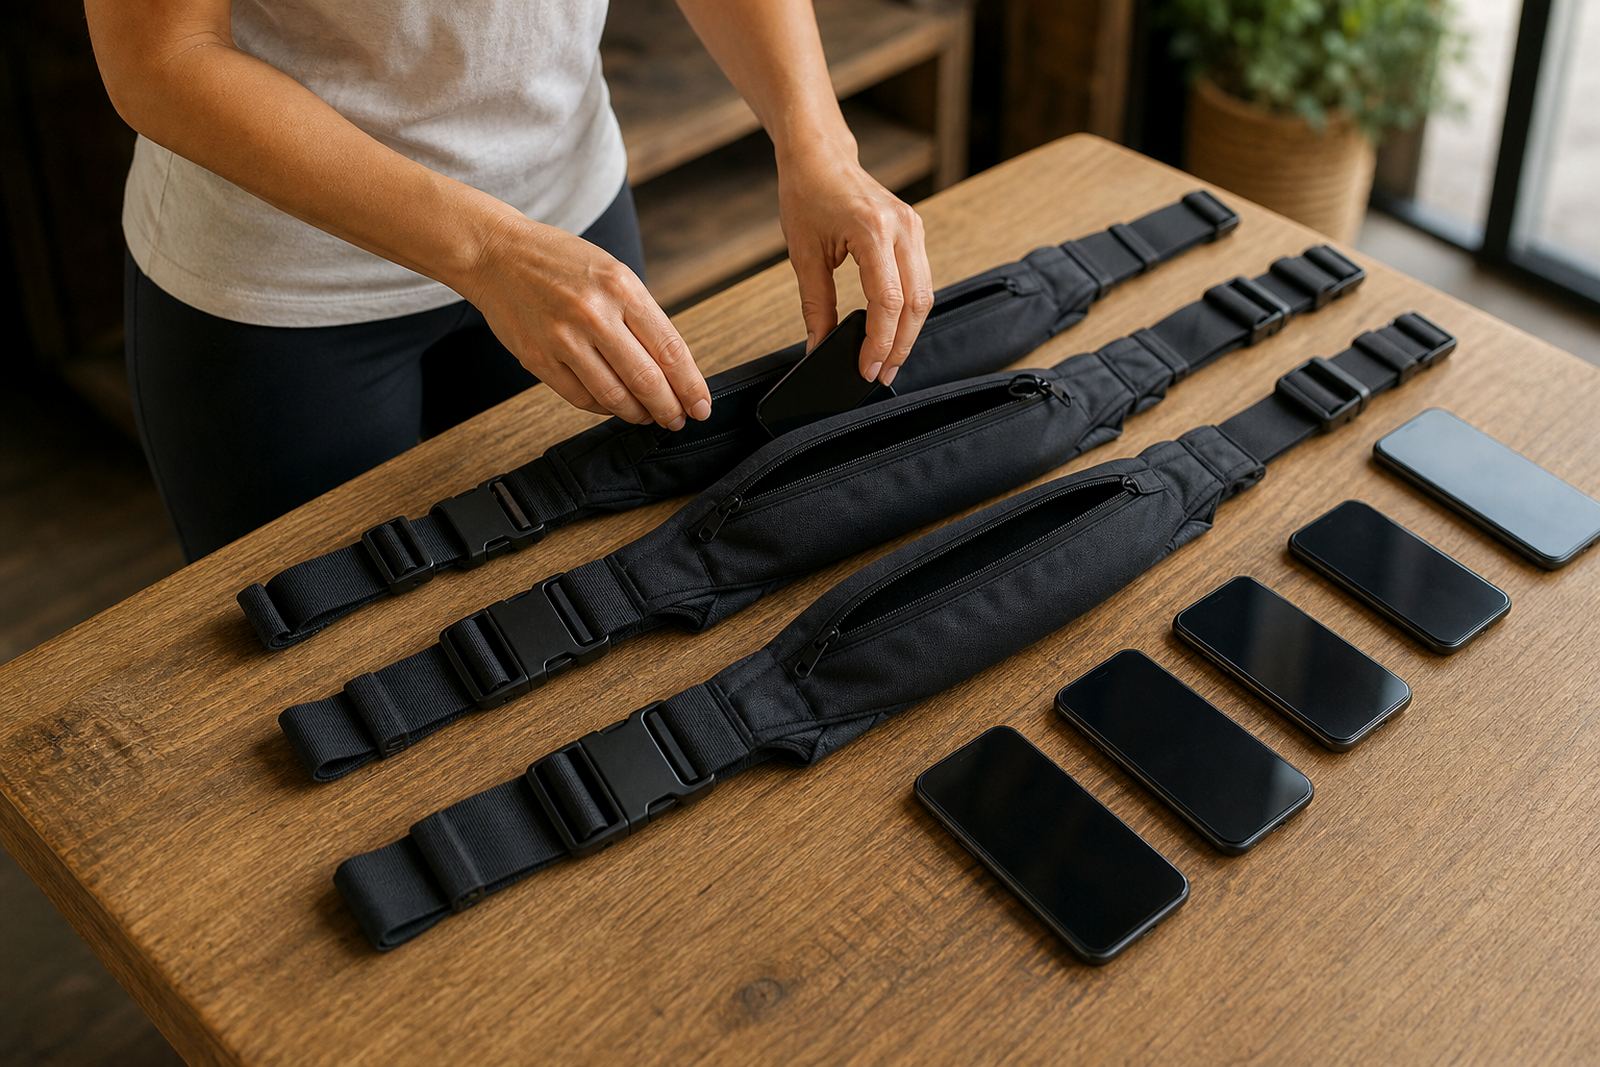
When you compare options, check how the belt sits when walking, running and bending over. It should stay stable without bouncing. That matters on technical trails near Stellenbosch and Paarl, and on road routes where participants may carry more than expected. In our experience, once runners test the belt with a filled flask and keys, they can tell quickly if it will work or not.
- Short road events: light belt, simple front access
- Trail events: more storage, secure fit, hydration support
- Volunteer and crew use: easy compartment access, practical layout
Get Sizing Right Before the Order Is Confirmed
Sizing is where many event orders go wrong. A good rule is to collect waist measurements early, then add a small allowance for winter layers or race-day clothing. If you are planning for clubs, schools or corporate teams, ask for a measurement list in advance and set one clear method for taking it. That keeps the order cleaner and reduces returns.
For larger events, we recommend a sizing brief that includes gender mix, expected body range and whether the belt will be worn over a T-shirt, vest or hydration pack. If you are ordering for a mixed group across Johannesburg, Cape Town and Stellenbosch, use the same sizing notes everywhere so the fit stays consistent. One missing measurement can hold up dispatch, so best to verify the list before approval.
- Measure at the waist where the belt will sit during activity
- Confirm clothing layers for cold starts or early morning races
- Ask for sample sizing if the group has a wide spread of body types
Plan Quantities for Participants, Volunteers and Crew
For event planning, order quantities should reflect the route, support stations and backup staff. Do not only count runners. Add marshals, medical teams, water point crews, registration staff and sweep teams. If the event has staggered starts or multiple distances, break the numbers down by wave so you can allocate belts properly.
A simple order sheet with sections for size, colour, user group and delivery location will save time later. It also helps if one person signs off the final count. That keeps the briefing tidy for events in Durban, George and Bellville where multiple teams may be receiving stock at different venues. If the counts are final on Tuesday, you want the packing list locked by Wednesday, not still changing on Friday.
- Count all support staff, not only entrants
- Separate orders by distance, wave or team role
- Confirm who signs off on final quantities and colours
Use Colours, Branding and Inserts to Keep Teams Clear
Colour coding is useful when a race has several moving parts. You can assign one colour to participants, another to volunteers and a third to crew or medical staff. This makes sorting at registration, bag drop and the finish area much easier. For local events with custom colours, keep the colour choices practical and easy to identify in low light or busy tents.
Race pack inserts are also worth planning early. They can explain how to fit the belt, where to place hydration, and who should use which belt type. That reduces fitting questions on event morning, especially when teams are working fast. A short fit note tucked into the pack works better than a long explanation at the gate.
- Use colours to separate roles quickly
- Keep inserts short and practical
- Make belt allocation obvious at registration and race pack handover
Build the Dispatch and Event-Day Support Plan
Good event supply is not only about the product. It is also about how the stock gets to the right place, on time and in good order. For events across South Africa, confirm delivery windows, venue access rules and whether the organiser needs split dispatch to different sites. In Stellenbosch and Somerset West, some venues have tight loading access, so the drop-off plan matters as much as the order itself.
For bigger events, keep one contact person on the organiser side who can handle changes to sizes or counts. That avoids confusion when the registration team, the race director and the volunteers all want updates at once. We also advise checking the packing list against the route plan and the crew roster before event week starts. A quick check now saves a bigger problem later, especially if load-shedding or weather shifts the schedule.
- Confirm venue access and delivery timing early
- Nominate one organiser contact for updates
- Match packing lists to the route plan and staff roster
Simple Pre-Event Checklist for Organisers
Use this checklist two to three weeks before the event, then again in the final run-up. It keeps the belt order practical and stops small issues from turning into last minute noise. If your team is handling multiple towns, include each delivery point on the same sheet so nothing gets missed.
- Confirm event type, distances and total user groups
- Collect waist measurements and clothing notes
- Decide on participant, volunteer and crew belt types
- Choose colours or role-based identifiers
- Approve quantities and final packing counts
- Check delivery timing, venue access and dispatch details
- Brief the team on belt use and fit before race day
Once the checklist is complete, the next step is simple: keep the order stable. Changes after packing starts usually add more admin than value. A clean order, clear sizing and practical event support make the day easier for everyone involved.